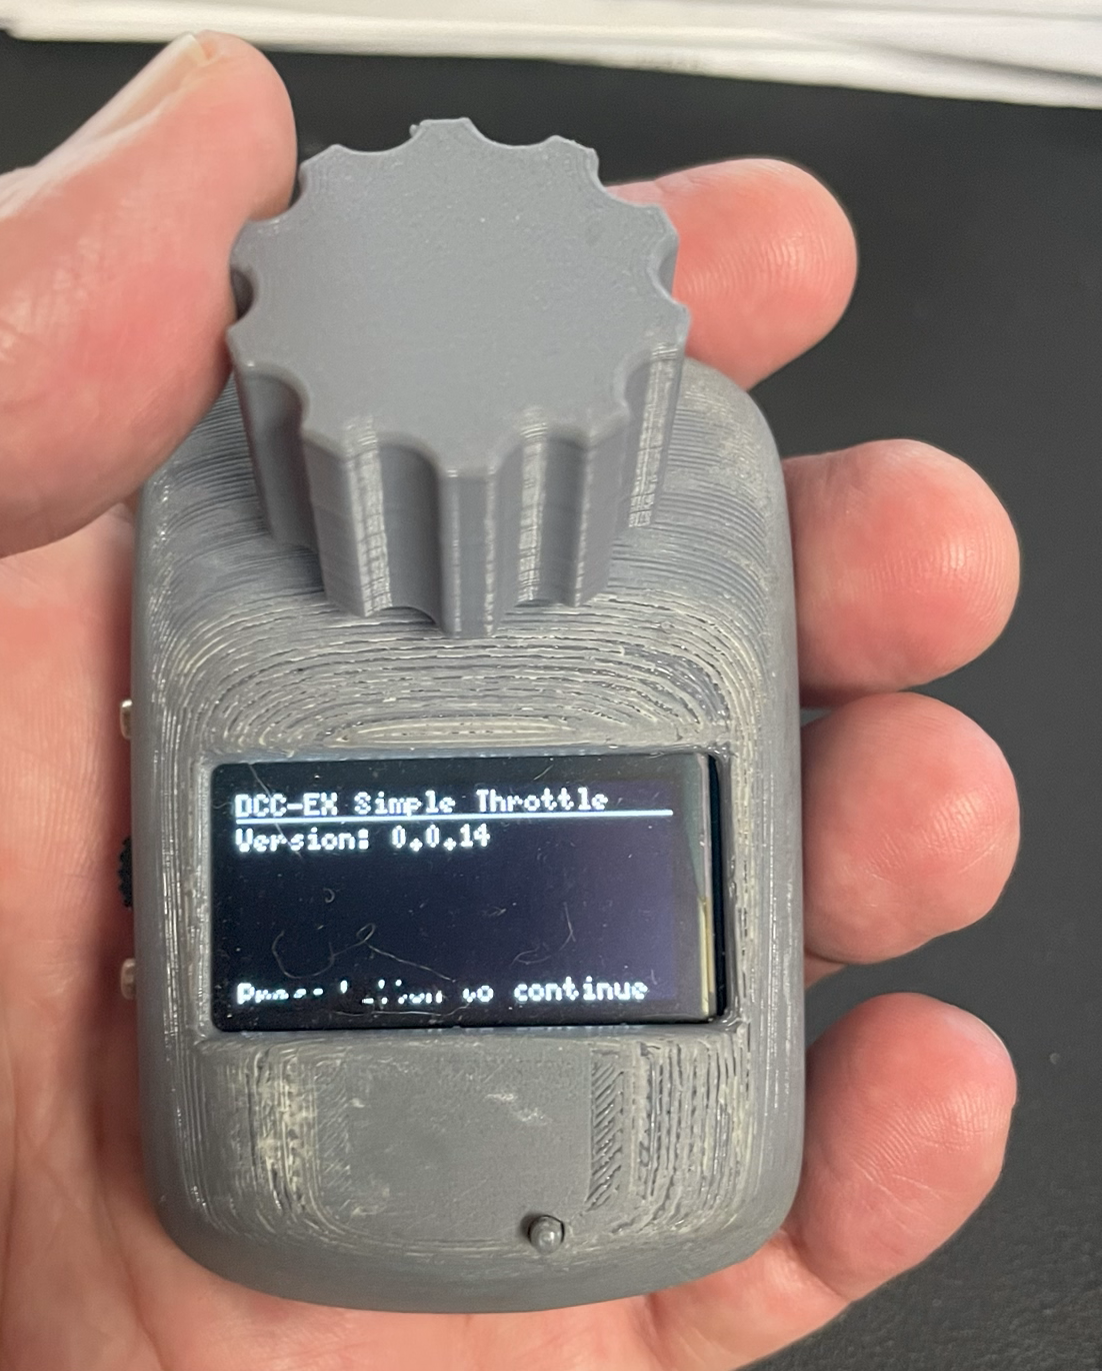
DCC-EX Simple Throttle
To accompany my mimic panel’s serial throttle (see DCC-EX Tri-Throttle), I decided a very simple WiFi enabled, palm-sized throttle I could walk around the layout with would be a very handy addition, hence the creation of this DCC-EX Simple Throttle.
Note that there is an option to run this on an STM32F103C8 Bluepill via a serial connection instead.
Hardware
The hardware required is pretty simple, consisting of a Wemos D1 Mini or Lolin32 Lite (which incorporates a LiPO battery connector), a LiPO battery, rotary encoder (such as the KY-040), and an SH1106 compatible OLED (either SPI or I2C).
I opted for a 1.3” OLED for ease of readability, as it’s still small enough to fit in the palm of my hand when assembled with the rest of the hardware.
I have designed and 3D printed a case to suit the specific components which is available on Thingiverse.
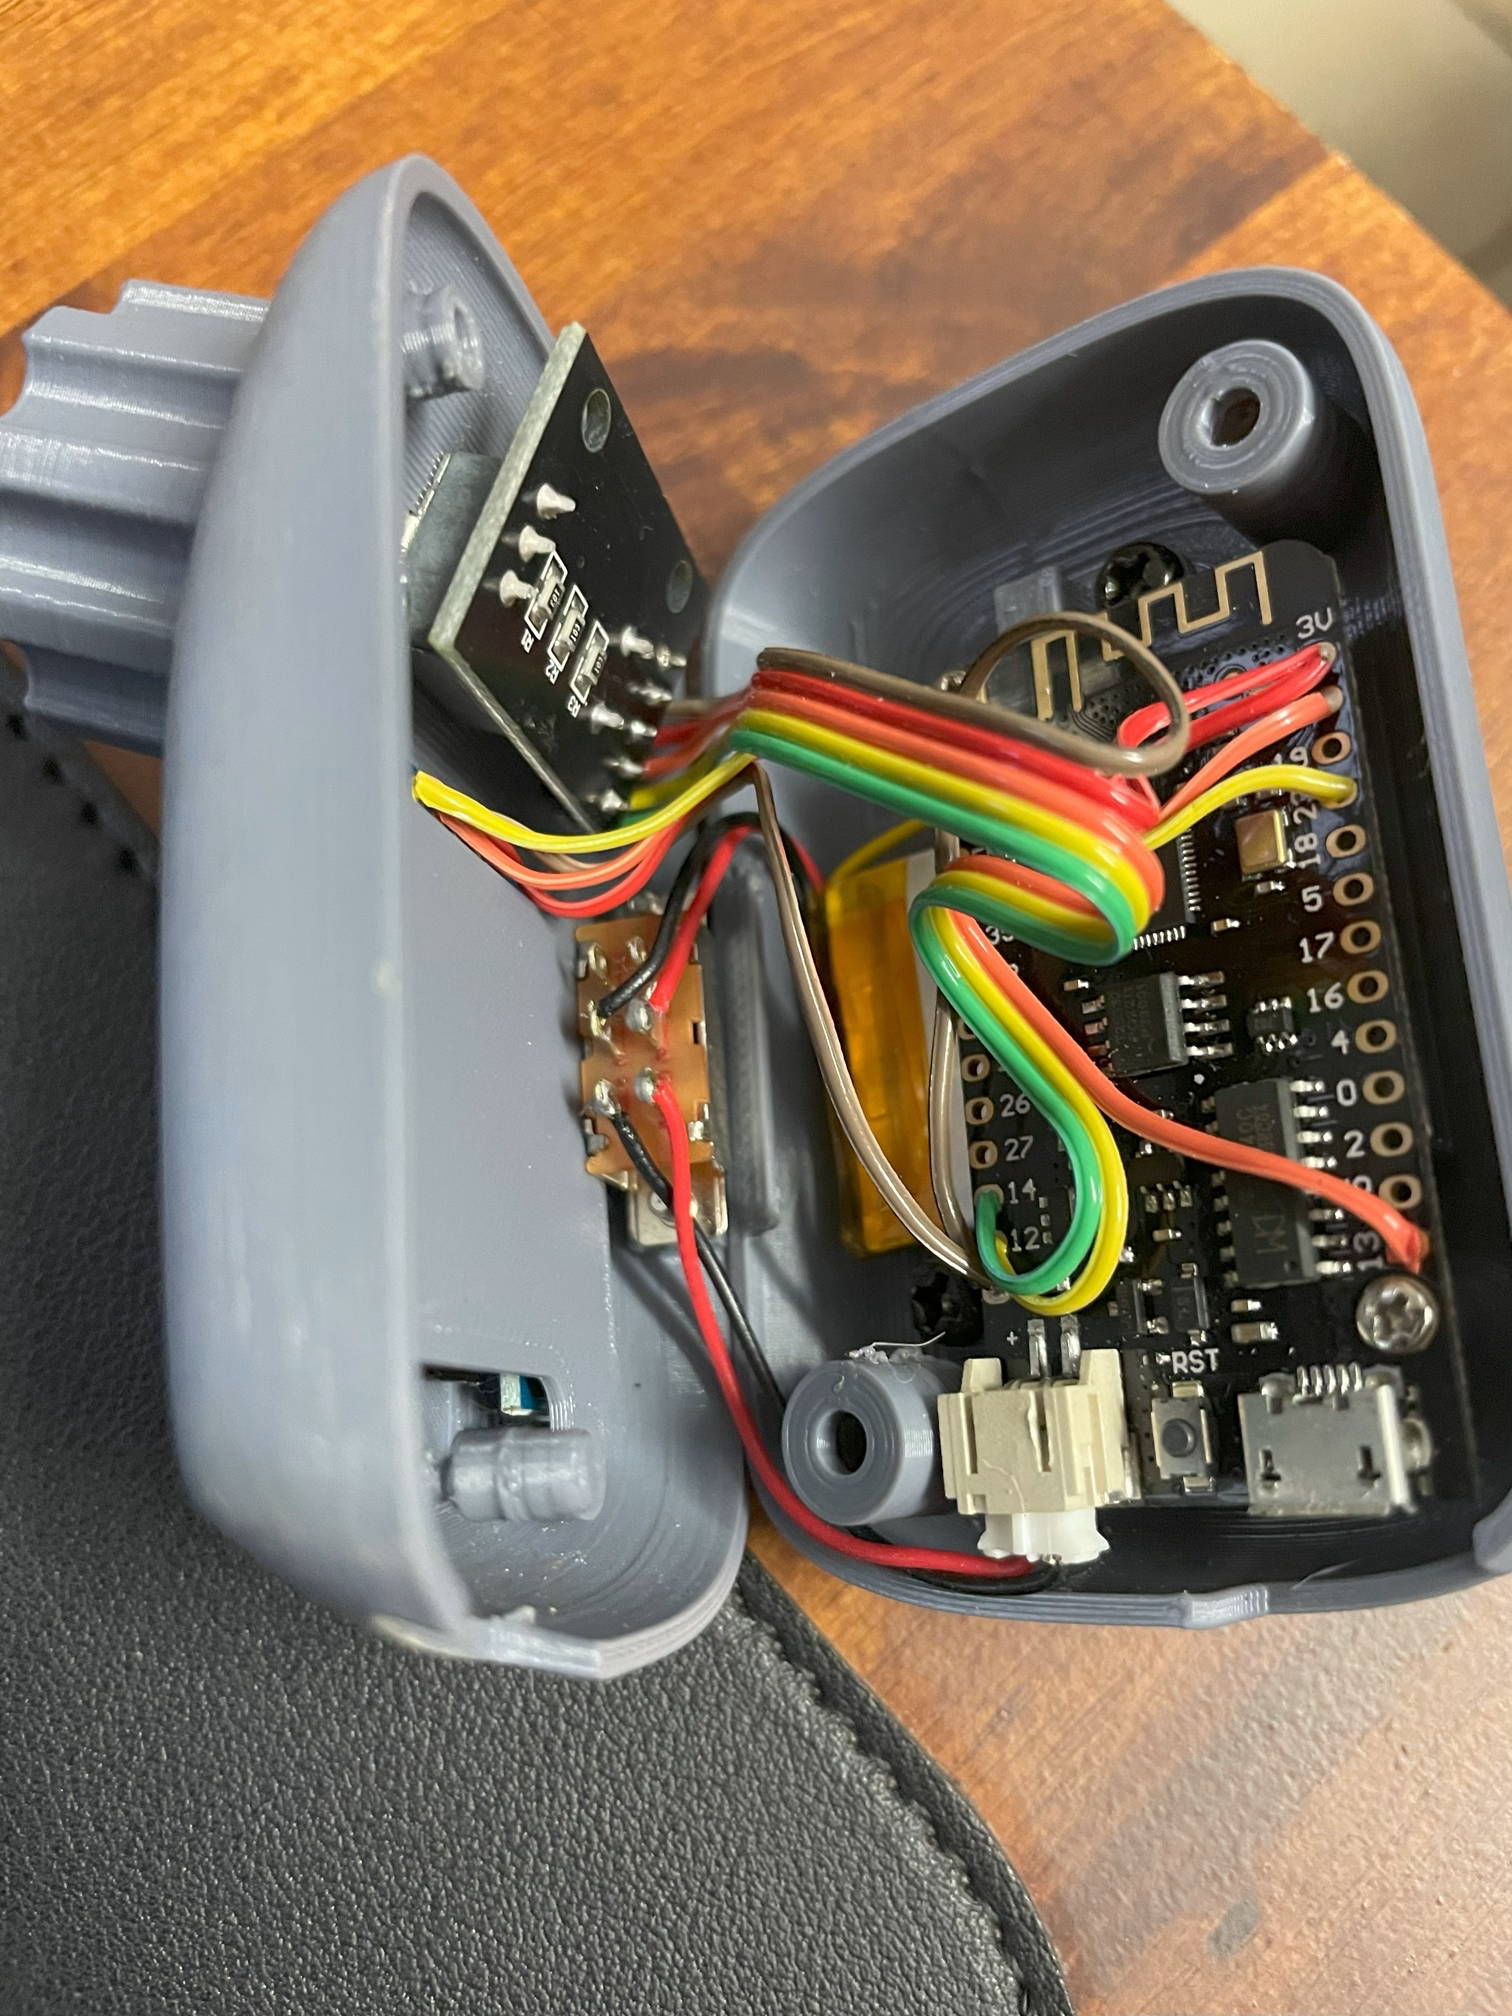
I neglected to take any assembly photos, but this is a look inside the completed throttle, noting that the battery is mounted first underneath the Lolin32 Lite board.
Component connections
This table outlines the pins in use to connect to the various components.
Device Connection |
Wemos/Lolin32 Pin |
Bluepill Pin |
|---|---|---|
Rotary encoder DT |
12 |
PC14 |
Rotary encoder CLK |
14 |
PC15 |
Rotary encoder button |
13 |
PA0 |
OLED SDA (I2C) |
23 |
PB7 |
OLED SCL (I2C) |
22 |
PB6 |
OLED MOSI (SPI) |
23 |
PA7 |
OLED MISO (SPI) |
19 |
PA6 |
OLED CLK (SPI) |
18 |
PA5 |
OLED CS (SPI) |
5 |
PA4 |
OLED DC (SPI) |
2 |
PA3 |
Serial Tx |
N/A |
PA10 |
Serial Rx |
N/A |
PA9 |
Software
The software is located in my DCCEXSimpleThrottle GitHub repository.
This uses the DCCEXProtocol Arduino library to interact with an EX-CommandStation using the native DCC-EX protocol rather than the WiThrottle protocol, ensuring future-proof feature compatibility with DCC-EX software updates.
The code documentation is available using this link.
Installation
The software is configured to use VSCode with PlatformIO and will therefore ensure the correct libraries are installed when compiling and loading the software onto your device.
If using the Arduino IDE, you will need to ensure platform support for STMicroelectronics STM32 and/or Espressif is installed.
Further, you will need to ensure these libraries are installed:
DCC-EX/DCCEXProtocol
olikraus/U8g2
There is plenty of information available on the Internet at large around how to accomplish installing these items, so I won’t cover that here.
Configuration
Once the hardware components are connected according to the defaults in Component connections, for the Bluepill platform, no further configuration should be required.
When using the Wemos D1 Mini/Lolin32 Lite, you will need to configure the WiFi credentials and EX-CommandStation IP address and port details for each EX-CommandStation you wish to connect to. Defining multiple sets of details is supported, meaning you can take this to your club or friend’s place without having to reconfigure it every time.
If for some reason you need to use different pin connections, these can also be adjusted to suit.
All user configuration changes can be made by copying the provided “myConfig.example.h” file to “myConfig.h” (note this file name is case sensitive, and Windows users beware an inadvertent “.txt” extension being added).
Instructions are included in the file for updating the various details, but the WiFi/EX-CommandStation options are outlined here for clarity as well.
Configuring WiFi and EX-CommandStation details
Set COMMANDSTATION_COUNT to the exact number of EX-CommandStations you will set up connection details for.
For each of the parameters, you must provide the exact same number of elements that you defined for COMMANDSTATION_COUNT as shown in the example configuration provided. Further to this, every element aside from the port must be surrounded by quotes "<element>", and each list of elements must be surrounded by curly brackets {<list>}.
When configuring the parameters:
COMMANDSTATION_NAMES is a list of descriptive names to help you select the appropriate one from the menu
COMMANDSTATION_IPS is a list of the IP addresses for the CommandStations, one for each configured CommandStation (even if the same IP is used for multiple, each one must be specified)
COMMANDSTATION_PORTS is a list of the ports associated with the CommandStations (quite likely these will all be the default 2560)
COMMANDSTATION_SSIDS is a list of the WiFi SSIDs required to connect to the CommandStations
COMMANDSTATION_PASSWORDS is a list of WiFi passwords associated with the SSIDs to connect to the CommandStations
/*
Define WiFi connection parameters here
These are irrelevant if using Bluepill and a serial connection
*/
#define COMMANDSTATION_COUNT 2 // The number of EX-CommandStations to define

/*
Define connection options for each EX-CommandStation entry

Each line must have the exact same number of items as set in COMMANDSTATION_COUNT above
Each element must be surrounded by quotes "" and separated by a commad
Each list of elements must be surrounded by curly brackets {}

#define COMMANDSTATION_NAMES {"Example 1", "Example 2"}
#define COMMANDSTATION_IPS {"192.168.4.1", "192.168.0.1"}
#define COMMANDSTATION_PORTS {2560, 2560}
#define COMMANDSTATION_SSIDS {"SSID1", "SSID2"}
#define COMMANDSTATION_PASSWORDS {"Password1", "Password2"}
*/
#define COMMANDSTATION_NAMES { "CommandStation 1", "CommandStation 2" }
#define COMMANDSTATION_IPS { "192.168.4.1", "192.168.0.1" }
#define COMMANDSTATION_PORTS { 2560, 2560 }
#define COMMANDSTATION_SSIDS { "SSID1", "SSID2" }
#define COMMANDSTATION_PASSWORDS { "Password1", "Password2" }
Configuring a local roster
If you wish, you can configure a local roster of Locos that will be added to the Select Loco menu, and each of these items will be prefaced with * to indicate they are not retrieved from your EX-CommandStation roster.
Similar to setting up the WiFi connections above, set LOCAL_ROSTER_COUNT to the exact number of local roster entries you are adding, and add the exact same number of entries to:
LOCAL_ROSTER_NAMES which is the friendly name you will see in the
Select LocomenuLOCAL_ROSTER_ADDRESSES which is the DCC accress of the Loco
#define LOCAL_ROSTER_COUNT 3

#define LOCAL_ROSTER_NAMES {"Local Loco 1001", "Local Loco 1002", "Local Loco 1003"}
#define LOCAL_ROSTER_ADDRESSES {1001, 1002, 1003}
Other settings
These are the other configuration settings that can be defined in “myConfig.h”, with their default values:
#define BUTTON_PIN_MODE INPUT_PULLUP
#define BUTTON_PIN_POLARITY LOW
#define BUTTON_DEBOUNCE_PERIOD 50
#define BUTTON_LONG_PRESS_PERIOD 500
#define BUTTON_DOUBLE_CLICK_PERIOD 250
#define BUTTON_DEGLITCH_PERIOD 10
#define INVERT_THROTTLE true
#define THROTTLE_STEP 1
#define THROTTLE_STEP_FASTER 2
#define THROTTLE_STEP_FASTEST 5
#define THROTTLE_STEP_FASTER_THRESHOLD 200
#define THROTTLE_STEP_FASTEST_THRESHOLD 125
BUTTON_PIN_MODE- Set to INPUT if using external pullup resistors, or if setting polarity to HIGHBUTTON_PIN_POLARITY- Set to HIGH if necessaryBUTTON_DEBOUNCE_PERIOD- Adjust to suit the physical button characterstics if there are bounce issues (in milliseconds)BUTTON_LONG_PRESS_PERIOD- Adjust as desired, higher values require the button to be held longer (in milliseconds)BUTTON_DOUBLE_CLICK_PERIOD- Adjust as desired (in milliseconds)BUTTON_DEGLITCH_PERIOD- Adjust to suit the physical button characterstics if there are glitch issues (in milliseconds)INVERT_THROTTLE- Set tofalseif you prefer the rotary encoder knob to be rotated in the opposite direction to change speedsTHROTTLE_STEP- Amount to change speed by when rotating the rotary encoder slowlyTHROTTLE_STEP_FASTER- Amount to change speed by when rotating the rotary encoder fasterTHROTTLE_STEP_FASTEST- Amount to change speed by when rotating the rotary encoder at the fastest optionTHROTTLE_STEP_FASTER_THRESHOLD- Adjust as desired to detect faster rotation of the rotary encoder (in milliseconds)THROTTLE_STEP_FASTEST_THRESHOLD- Adjust as desired to detect the fastest rotation of the rotary encoder (in milliseconds)
Operation
When navigating menus, scroll up and down with the rotary encoder, and click the rotary encoder’s button to select the highlighted item. Depending on the current context, the rotary encoder button can be double clicked or held to perform different actions.
During operation, there are three contexts on screen to switch through:
Select servermenu (not shown when using Bluepill with a serial connection)Select locomenuSelect actionmenuThrottle screen
“Select loco” menu
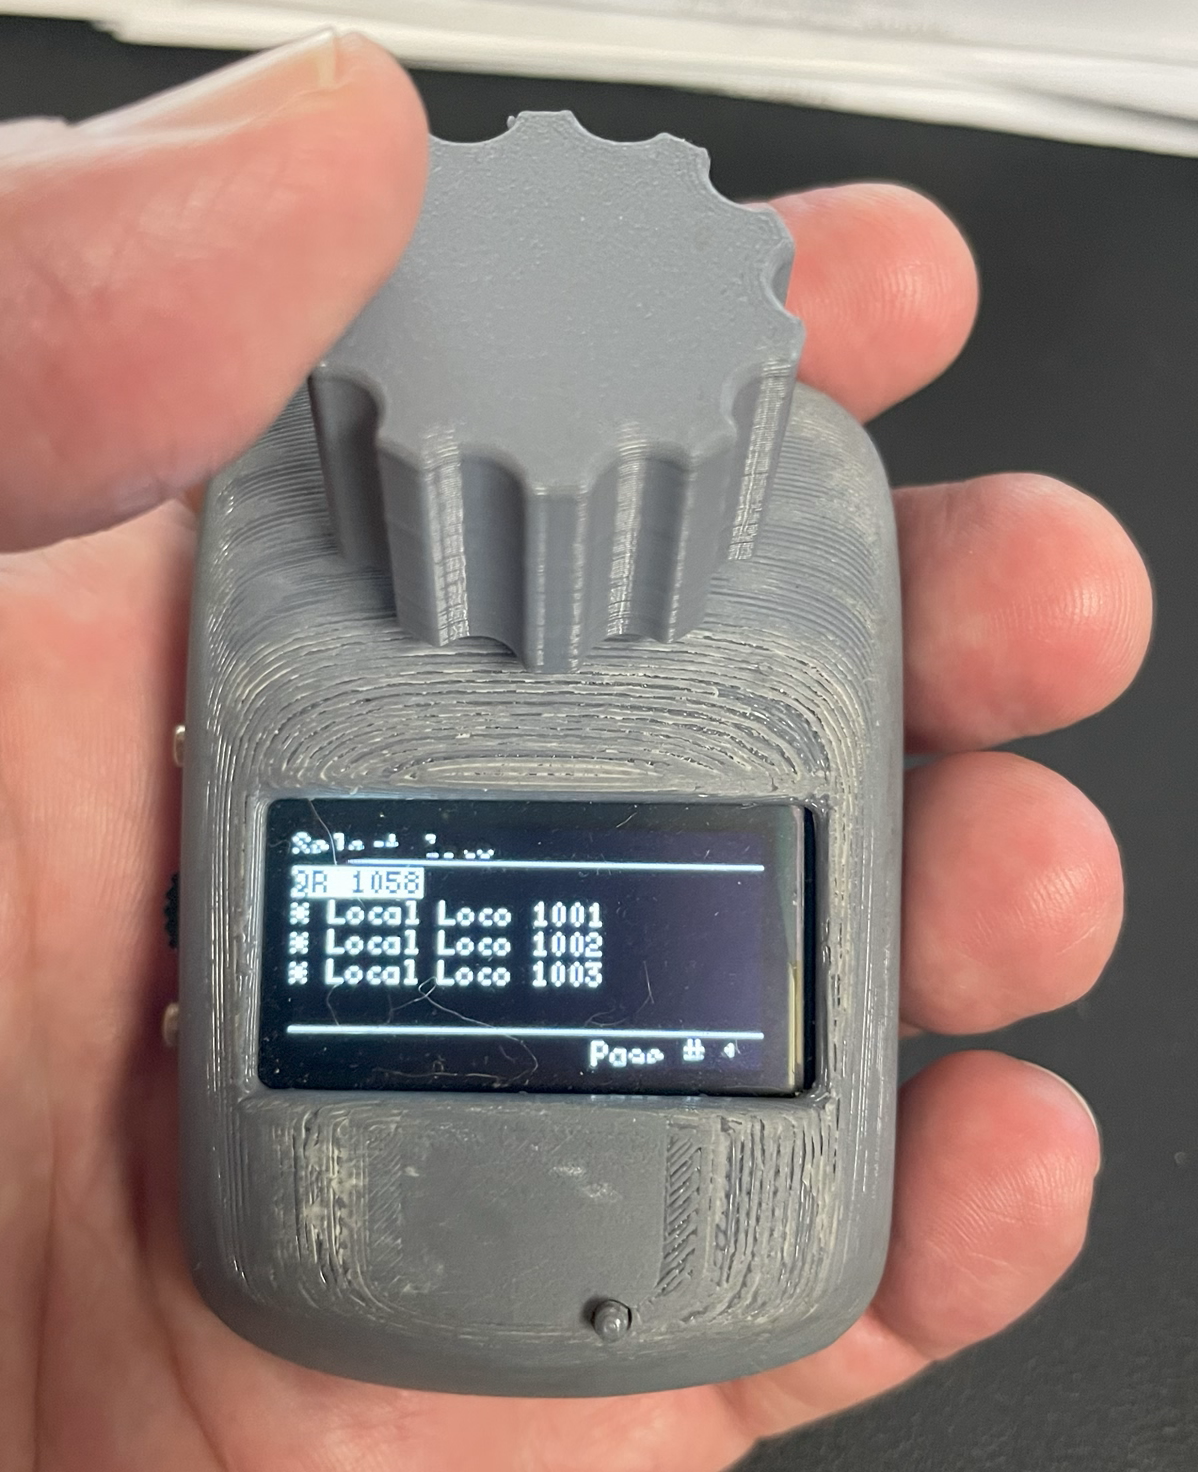
Providing a roster of locomotives has been configured in the connected EX-CommandStation, selecting one from the menu will allow you to control it.
If you have configured a local roster as per Configuring a local roster, then these will be available in this menu, prefaced by a *.
Select a Loco using the rotary encoder to scroll through the list, and press the button once to select a Loco
Double clicking the rotary encoder button will navigate to the “Select action” menu
Holding the rotary encoder button down will cause the EX-CommandStation to attempt to read the Loco address from the programming track
Once either a Loco is selected, or the programming track is read, the Throttle screen will be displayed. If reading the Loco on the programming track fails, you will be returned to the Select loco menu.
“Select action” menu
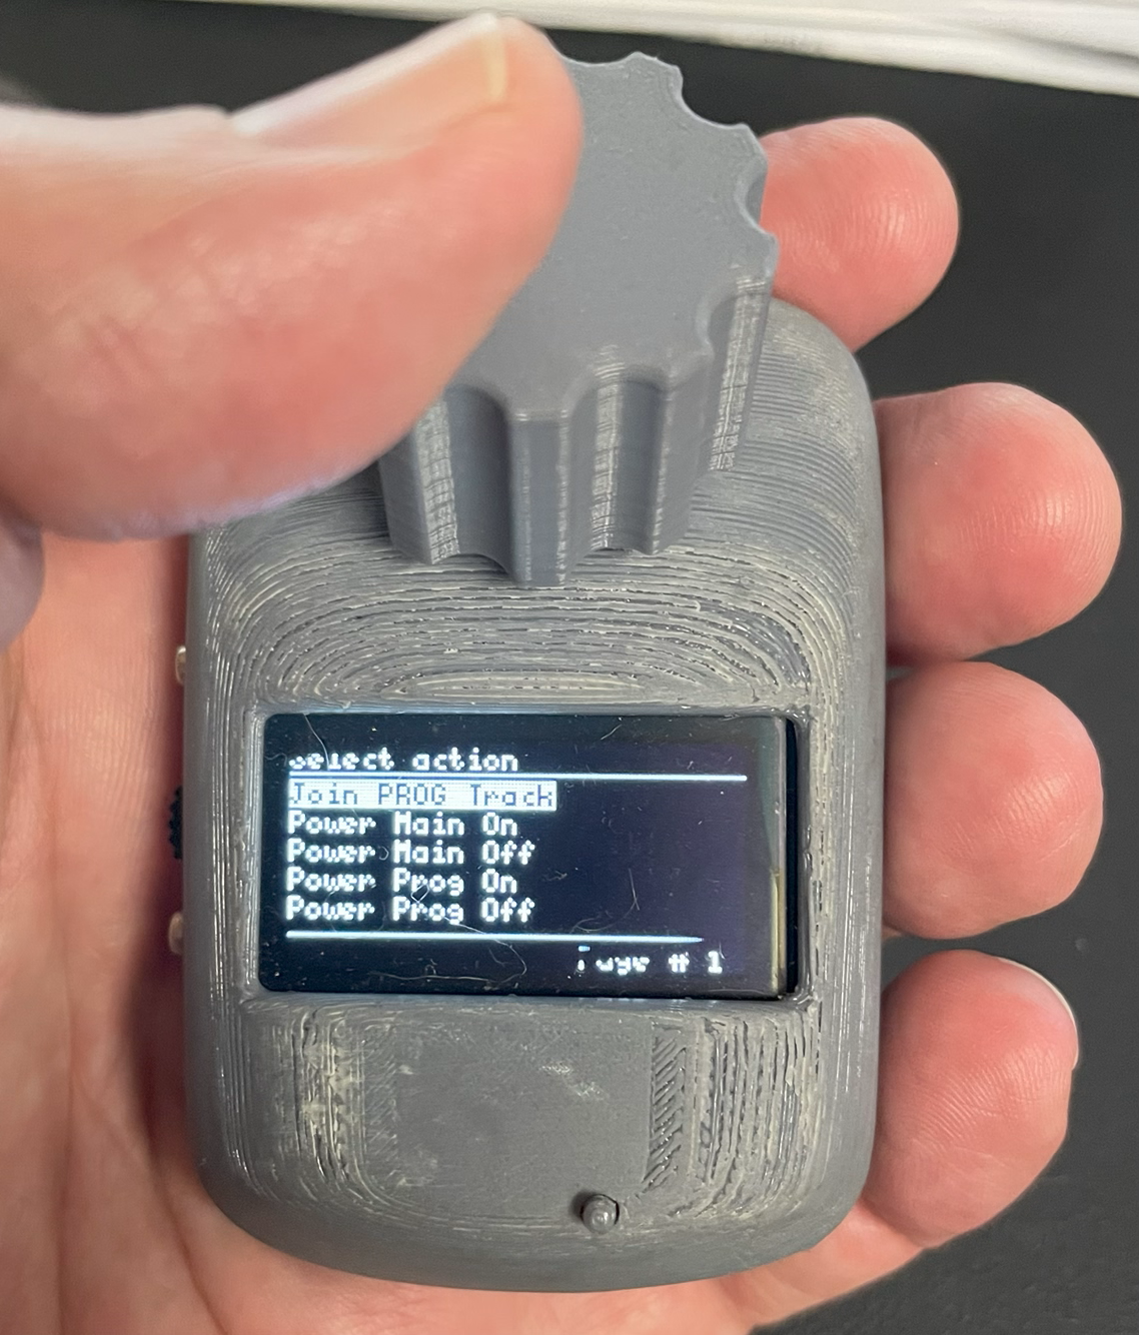
This menu allows you to perform various track power related actions.
Single click the rotary encoder button to select an option
Double click the rotary encoder button to return to the “Select loco” menu
Join PROG Track - Joins the programming track to the main track, allowing a Loco to be operated on it
Power Main On - Turns power on to the Main track only
Power Main Off - Turns power off on the Main track only
Power Prog On - Turns power on to the Prog track only
Power Prog Off - Turns power off on the Prog track only
Throttle screen
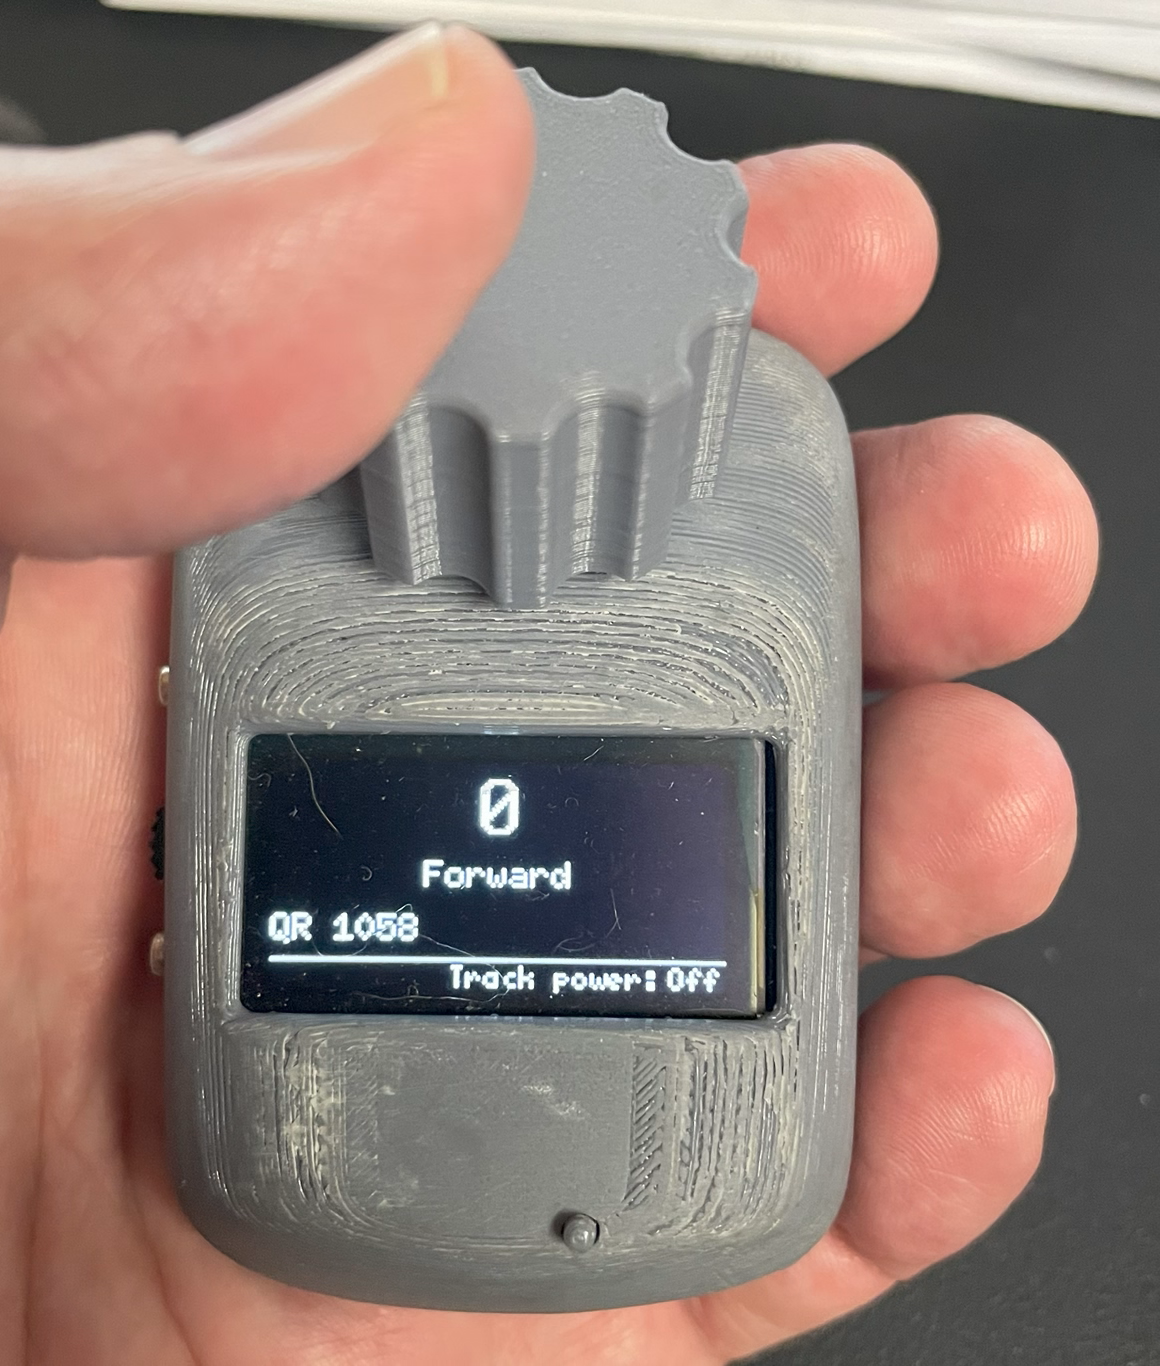
While on this screen, rotating the rotary encoder will increase or decrease the locomotive speed. Rotating slowly, by default, will increment/decrement the speed by 1, however rotating faster will increment/decrement by 2, and faster again by 5. The thresholds and values for these can be customised as outlined in Other settings.
If speed is greater than zero:
Single click the rotary encoder button to stop the selected locomotive
Double click the rotary encoder button to toggle function 0 on and off, which is typically the headlight
Hold the rotary encoder button for longer than half a second to trigger an emergency stop
If speed is zero:
Single click the rotary encoder button to change direction
Double click the rotary encoder to display the “Select loco” menu
Hold the rotary encoder button for longer than half a second to toggle track power on or off